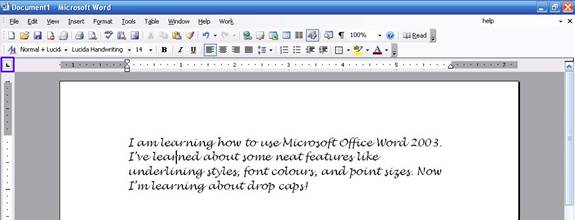
To set tabs, we must be in the proper view. Click the View menu and click Print Layout. You should see both the horizontal and vertical rulers. If not, click the View menu again and click Rulers.
Once we’re in the right view, click to select what type of tab you want. Use the button circled in the sample below:
You can click this button to cycle through the different tab types:
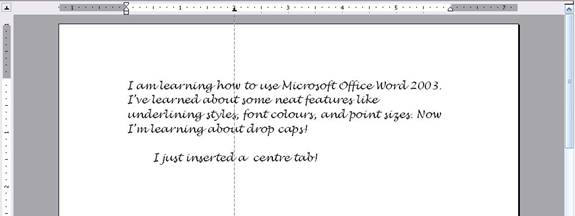
Once you’ve selected your tab type, click the horizontal ruler to place it:
The icon that appears on the ruler will reflect the type of tab it is. So now when we press Tab on our keyboard, our cursor will go to that place and align the text accordingly. In the sample below, we inserted a center tab so the text will be centred on the tab point:
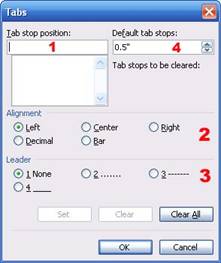
A more precise way to set tabs is by clicking the Format menu and clicking Tabs. When you perform that command, you will see this window:
You may find this window easier to use than the ruler. First, enter the point (in inches) where you want the tab to be entered. Second, choose your tab type using the radio buttons. You can also use the radio buttons marked with a three to choose the tab’s leader. (A leader is a solid, dotted, or dashed line that fills the space before the tab. We’ll look at leader examples in a moment.)
Item four in this box sets where default tab stops are. This means you can have tabs at certain points (in the example above, every half inch) without setting them all individually. You can type in the white box to change default tab stops.
Once you have all your options set, click the Set button. Then click OK to return to the main Word screen. If you have set multiple tabs, here’s how to use them. When your cursor is at the beginning of a sentence, press Tab to go to the first tab (or the first default tab stop). Then, press tab again to go to the next tab, and so on.
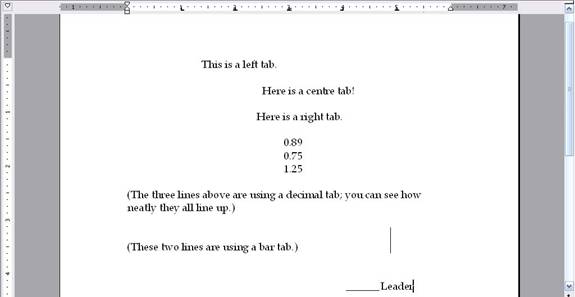
Here are some examples of tabs:
You can see how different tab types are marked on the ruler, and how the text using each tab is affected. You can also see that the last tab uses a solid leader: the space between the previous tab and this tab’s text is filled with a solid line. This is useful for documents like tables of contents.
Remember that tabs are set per-document, so you can set as many tabs as you want for each document. This can come in handy if you create lots of different kinds of documents that each needs specific alignment.
|