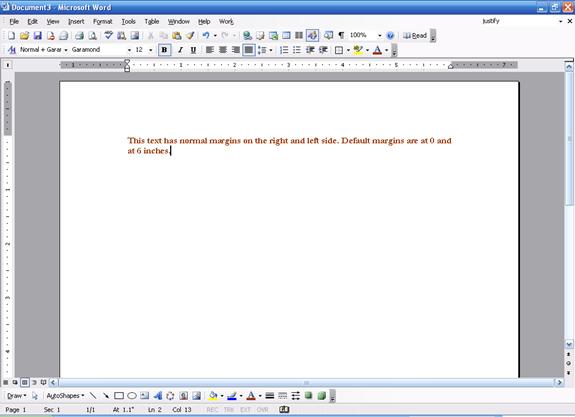
Margins are the blank white space on either side of your document. Here’s an example of a document with the default margins. (Margins are set based on paper size you have chosen, a setting we haven’t discussed yet. The default paper size is 8.5 by 11 inches.)
To change the margins, we must set our view first. Click the View menu and click Print Layout. We should see the horizontal ruler at the top of the screen, like the sample above. If you don’t see the ruler, click the View menu and make sure Ruler is checked. (If it’s not checked, click it to enable the ruler.)
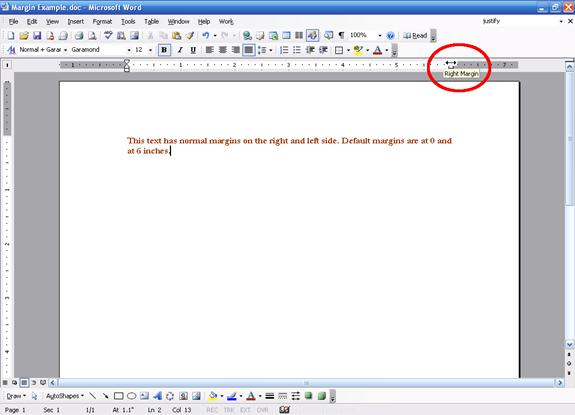
To change the left or right margin, place your cursor over the margin indicator in the ruler. The margin indicator looks like a small grey line. The right one is easy since normally there is only one indent (marked by a small triangle) there; the left one can be difficult as there may be multiple indents. You know that you have the margin indicator selected when your cursor changes to a double headed arrow. Let’s look at an example:
Once your cursor turns to the double-headed arrow, hold down your left mouse button and drag the margin to the desired spot, like this:
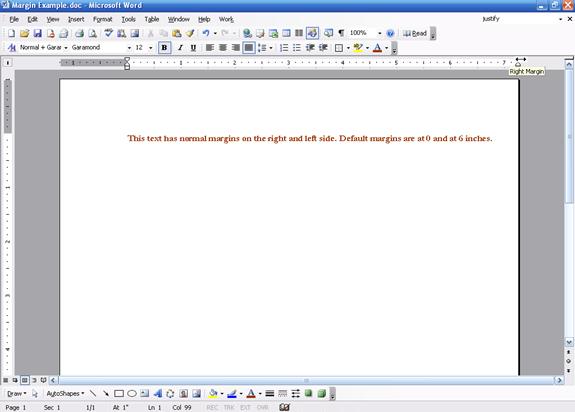
You can see how there is much more space on the right side of the document.
You can change left or right margins at any time. As well, margins are set per document, so you can play around with margin settings in a test document without worrying about affecting other documents you have created.
|