In the Fonts dialog box, we skipped the option in the middle of font types and sizes. Let’s take a closer look at it now.
You can see that we have two of our basic formatting options here: bold and italics. You also have a third formatting option, called bold italics, which combines both of those formats. (This is an example of bold italics.) Or, you can click Regular to not have any of these styles applied. Once again, any choices you make here will be reflected in the preview portion of the fonts dialog box.
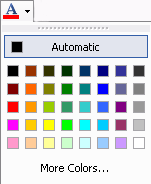
Another option you may use frequently is changing your font colour. You can do this by clicking the font colour button on the formatting toolbar.
If you click the button, your font will be changed to that colour. If you click the down arrow, you will see a palette of colours, like the picture on the right. You can click any of these colours, or you can click More Colours to create a custom color.
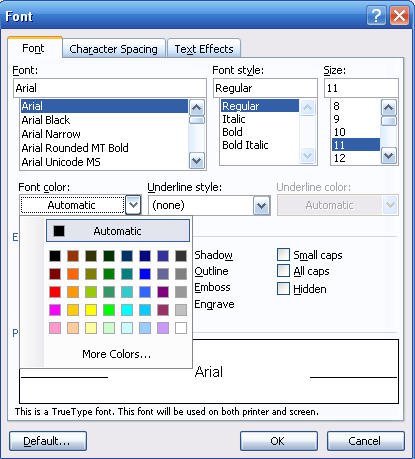
You can also click the Format menu and click Fonts to change your font color. This can be useful if you want to see a preview of the font before you apply it. In the Font dialog box, you can click the Font Color drop-down menu to see the same palette we saw above, like this:
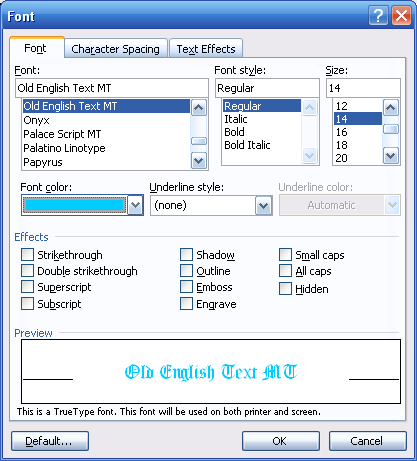
Then, you can change your font color by clicking a color in the palette. A preview will appear in the bottom pane:
Once you’ve chosen the color, click OK for those changes to be applied. You can see that there are almost unlimited ways to combine font types, sizes, and colours to make your documents unique!
|