Sometimes, you need to cut or copy many items. In those situations, it can be hard to organize your document by cutting and pasting (or copying and pasting) one item at a time. The Office Clipboard can help you organize data that needs to be moved around.
To launch the Office Clipboard, click the Edit menu and click Office Clipboard. (You can also hold down the Ctrl key and press C twice.) It will appear in a task pane to the right, like this:
The clipboard is easy to use. Just like other task panes, you can use the X or the ▼ at the top right hand corner of the task pane to close the task pane or switch to another task pane. Then, items that have been copied or pasted are listed in the large white window. You can use the Paste All or Clear All buttons above the list of items to paste all items into your document or to clear all items on the clipboard.
At the bottom of the screen, we have an Options button. When you click on it, you will see a list of Clipboard Options. Just like other menus, if an item is checked it’s enabled. If it’s not checked, it’s disabled. You can click on any item to change its status. Let’s take a look at each menu option.
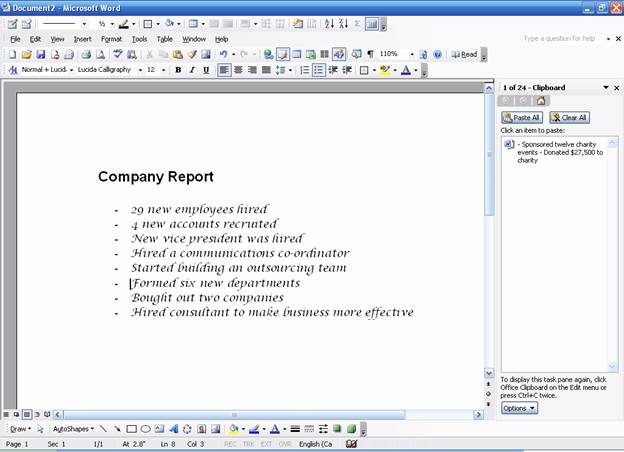
Let’s get back to the Office Clipboard. Here’s an example of using the Office Clipboard to organize a document. If we look at this person’s notes for their company meeting, you can see that they’re pretty disorganized:
Let’s enable the Office Clipboard and cut a number of items to start organizing our notes. Remember that we can hold down the Ctrl key to select different items:
After we’ve cut these two lines, they will move to the clipboard, like this:
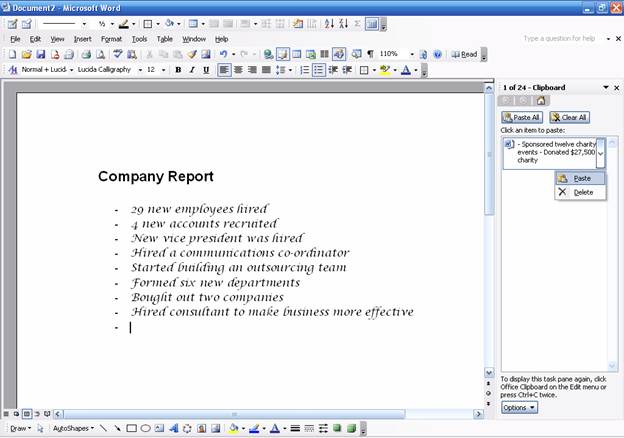
Let’s put our cursor at the bottom of the document. We can now put the organized text back in our document by left-clicking the item in the clipboard, or by right-clicking it and clicking Paste, like this:
Pasting from the clipboard is just like using paste without the clipboard! Once you’ve clicked paste, your information will appear in the document and you will have the paste options. (Pasting does not remove the information from the clipboard.) In the sample below, you can see the pasted text and the paste icon:
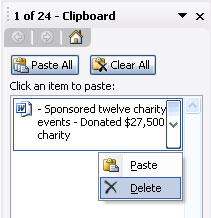
Now, we can right-click on the item in the clipboard (the one we just pasted) and choose Delete. This will remove the item from the clipboard.
If you close the clipboard with items on it, you can re-open it later to see those items. (Remember that we need to click the X in the top right hand corner of the task pane to close the clipboard.)
|